
Welcome to Gitnox! 👋
With Gitnox, you have the power to deploy and maintain multiple versions of your Ninox apps across numerous teams, all while maintaining complete control over your password-protected apps. Our platform also includes a built-in license management app, enabling you to sell your Ninox apps on a subscription basis with ease.
GitNox offers two key features to help you manage your Ninox apps with precision: Version Control and Licensing. Best of all, our platform prioritizes security, with all of your apps encrypted and your data stored securely.
Ready to get started? Let GitNox empower you to take control of your Ninox apps and revolutionize the way you manage your software development projects
Let's get you started !
Creating an application
To create your first application in Gitnox, simply click on the "Add a new application" button on the main screen. This will take you to the setup process, where you'll be able to link your Ninox database to GitNox.
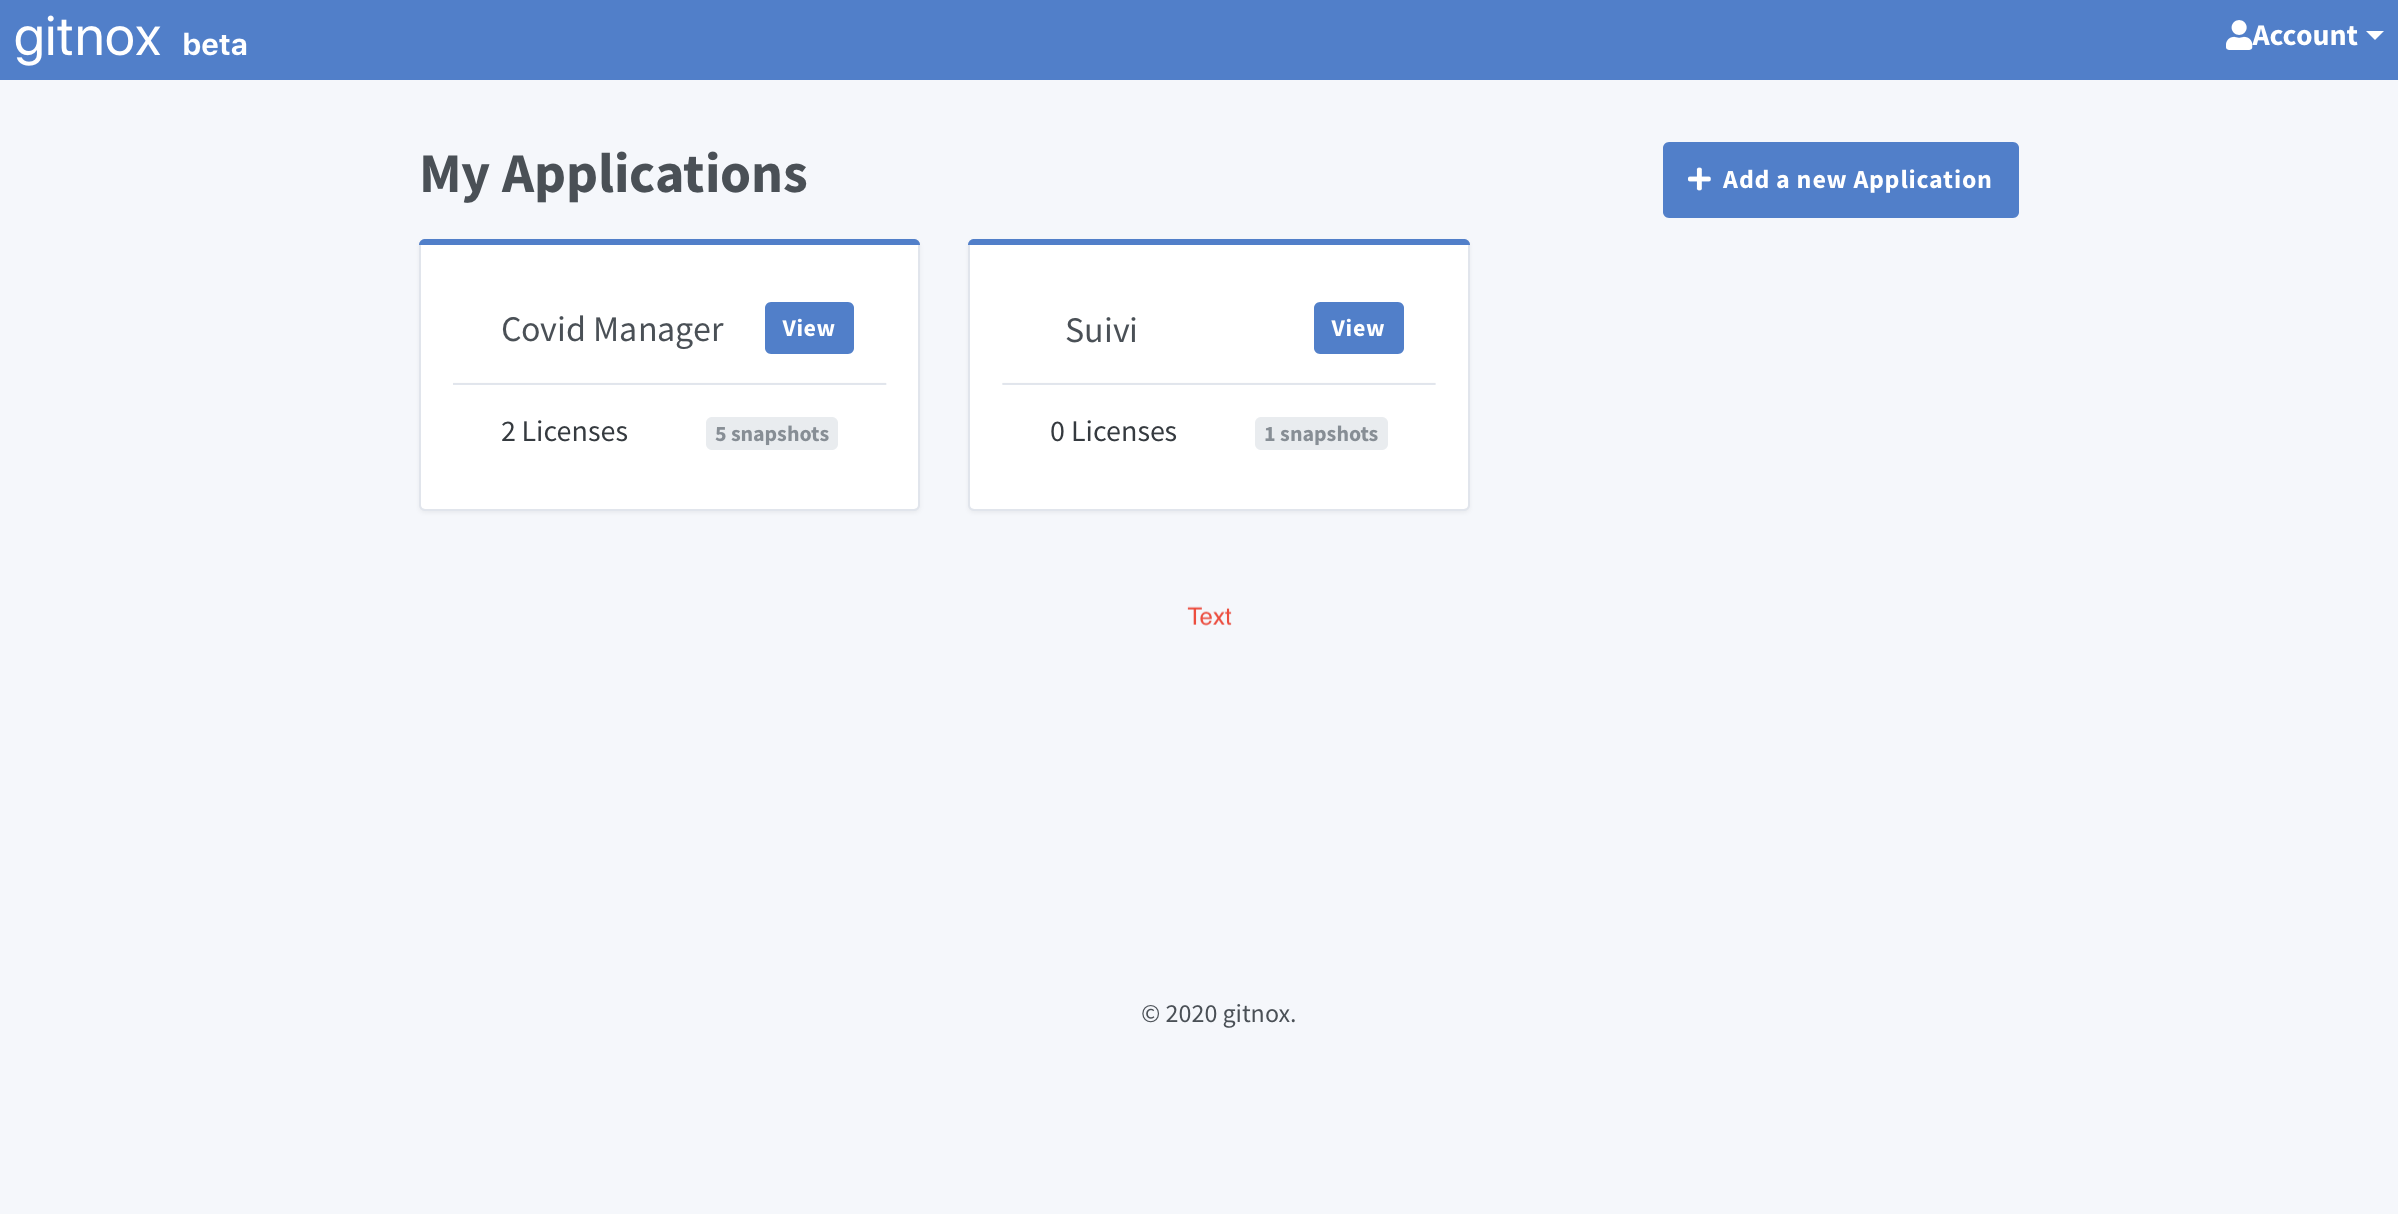
Each application in Gitnox represents a database in Ninox, and serves as the developer's database that you've integrated into your Ninox app. With Gitnox, you'll use this application to manage licenses and take snapshots of your Ninox app.
To get started, click the "Add a new application" button located in the upper-right corner of the dashboard. From there, you can enter a name for your project or application, and then click "Save" to confirm the name.
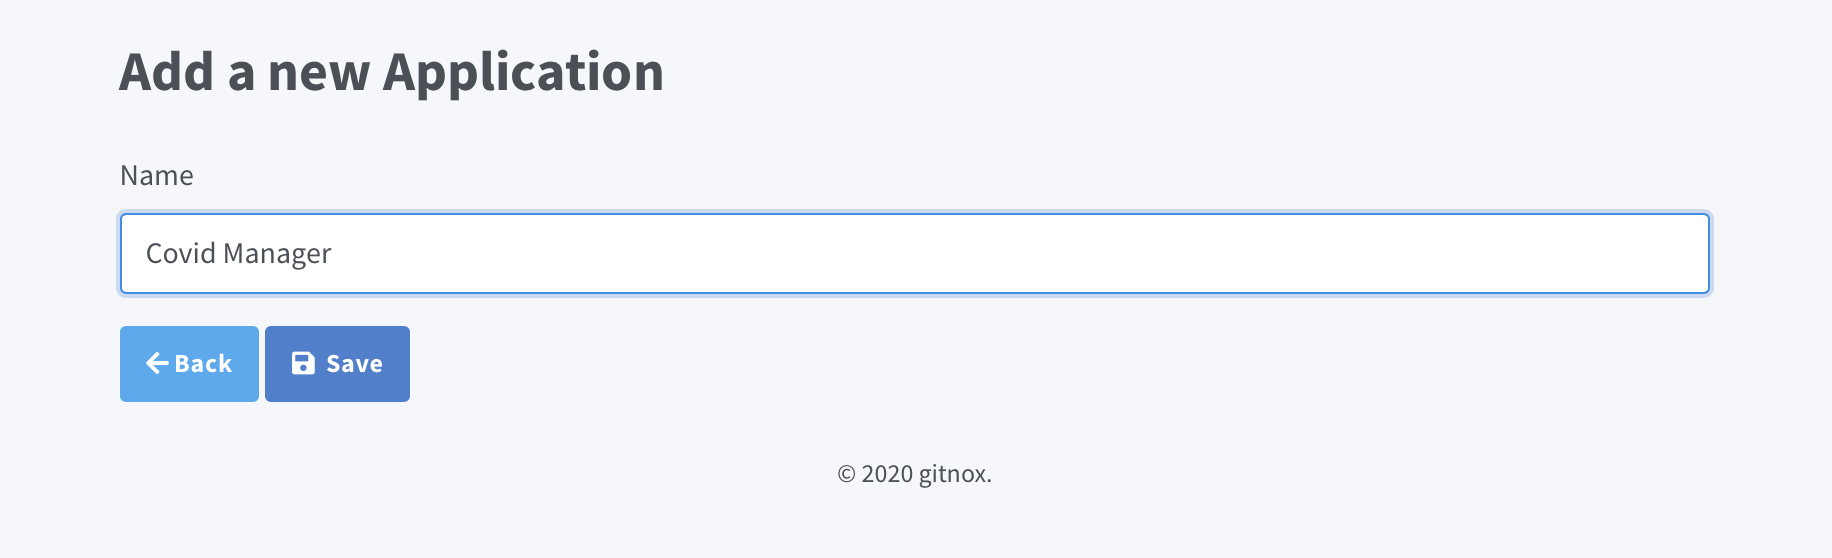
Hint: Use the same app name as your ninox app to quickly identify your app.
Once you've saved the name, you will need to link it to your Ninox database. Gitnox needs to know the instance on which your Master Ninox database is living. If you're on the public cloud, the base url would be https://app.ninox.com, if you're on the private cloud, please provide your private cloud url (ex: https://anastasiya.ninoxdb.de or whatever private cloud url you have). If your ninox Master database is hosted on premise, please provide a publicly visible URL so that gitnox can connect to your on-premise instance.

The base URL field, with the public Ninox solution URL used.
Once you've set your URL you'll move onto specifying exactly which team and database on your Ninox account you want to link.
Setting the Team and Database
Below the Base URL field, there's a yellow button labelled "Choose Team / Database":
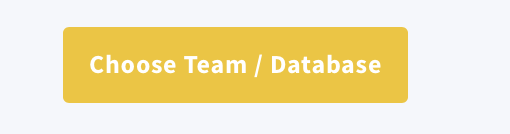
The choose team / database button
Once you've clicked this button you will be presented with a popup asking for your Ninox credentials. In other words: The email and password used on your Ninox account.
One thing to note is that Gitnox will never store this information in our databases. It will only be saved for the duration of your current session while you set up your project in order to avoid you having to input your credentials again at every step. Also, during this short amount of time this information will be encrypted.
Once you've logged out of your session this information will be cleared.
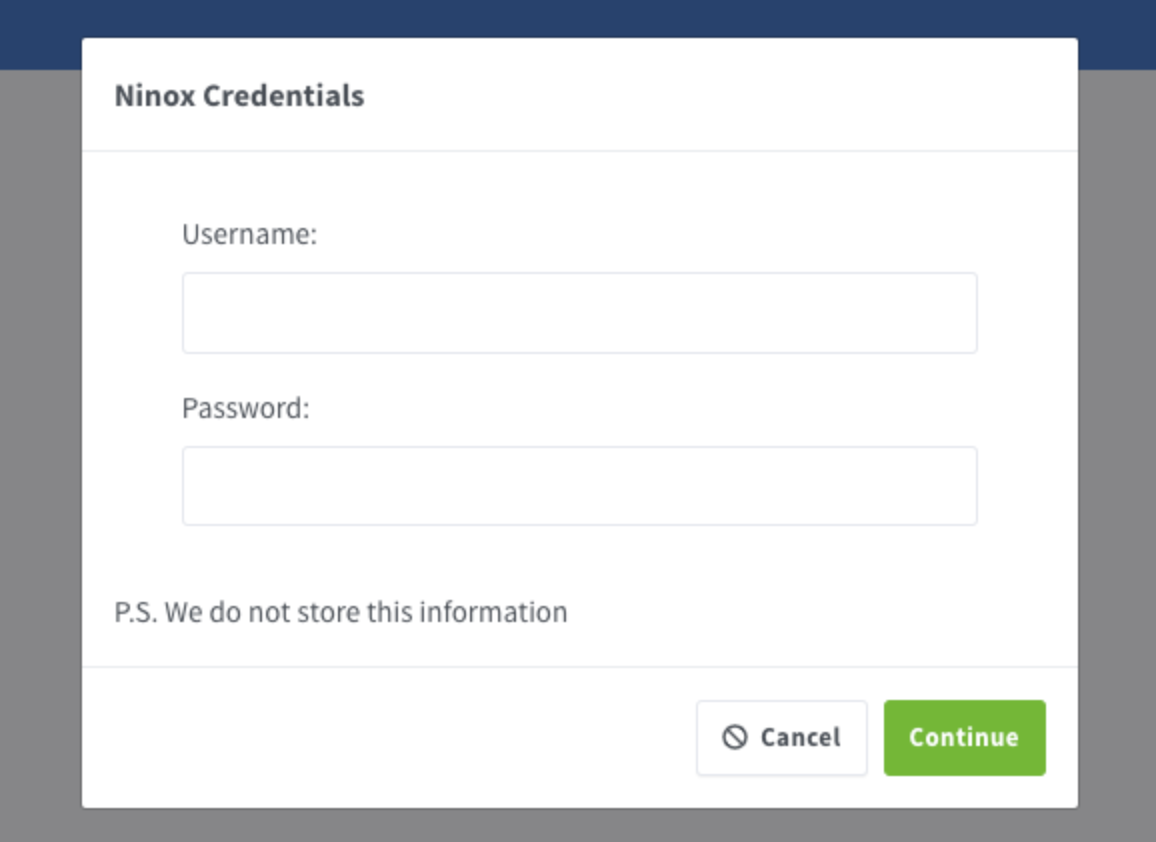
The credentials form.
Once you've added your Username and Password, click the continue button in order to link your Gitnox account to Ninox.
Next, you will be presented with a list of the teams present on your Ninox account. Simply select the team your Ninox database is saved under.

A team that's procured from the user's Ninox account
You will then see a list of all the applications / databases created under that team.
Select the Ninox database that you want to link this project to . . . and you're done!

A database that's present in the team we've selected
One thing to note: If your Ninox database / application is password protected, you will need to enter the database password and hit the update button in order to complete this step.
- If you don't have a password for your database, leave this field blank.*
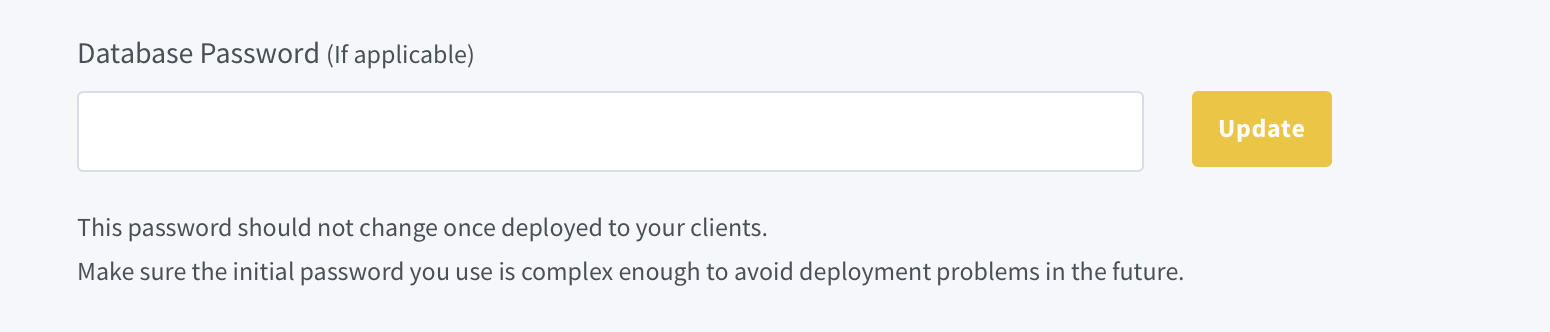 The database encryption field.
At this point, your Gitnox account as well as your projects are up and running! You can now start to create licences as well as snapshots. 🎉
Gitnoxify your app
One way of managing your deployed apps is by installing a Licence object inside your target database. This object will allow you to manage the database lifecycle from there on.
Under Settings tab, click on the Gitnoxify button to install the licences table
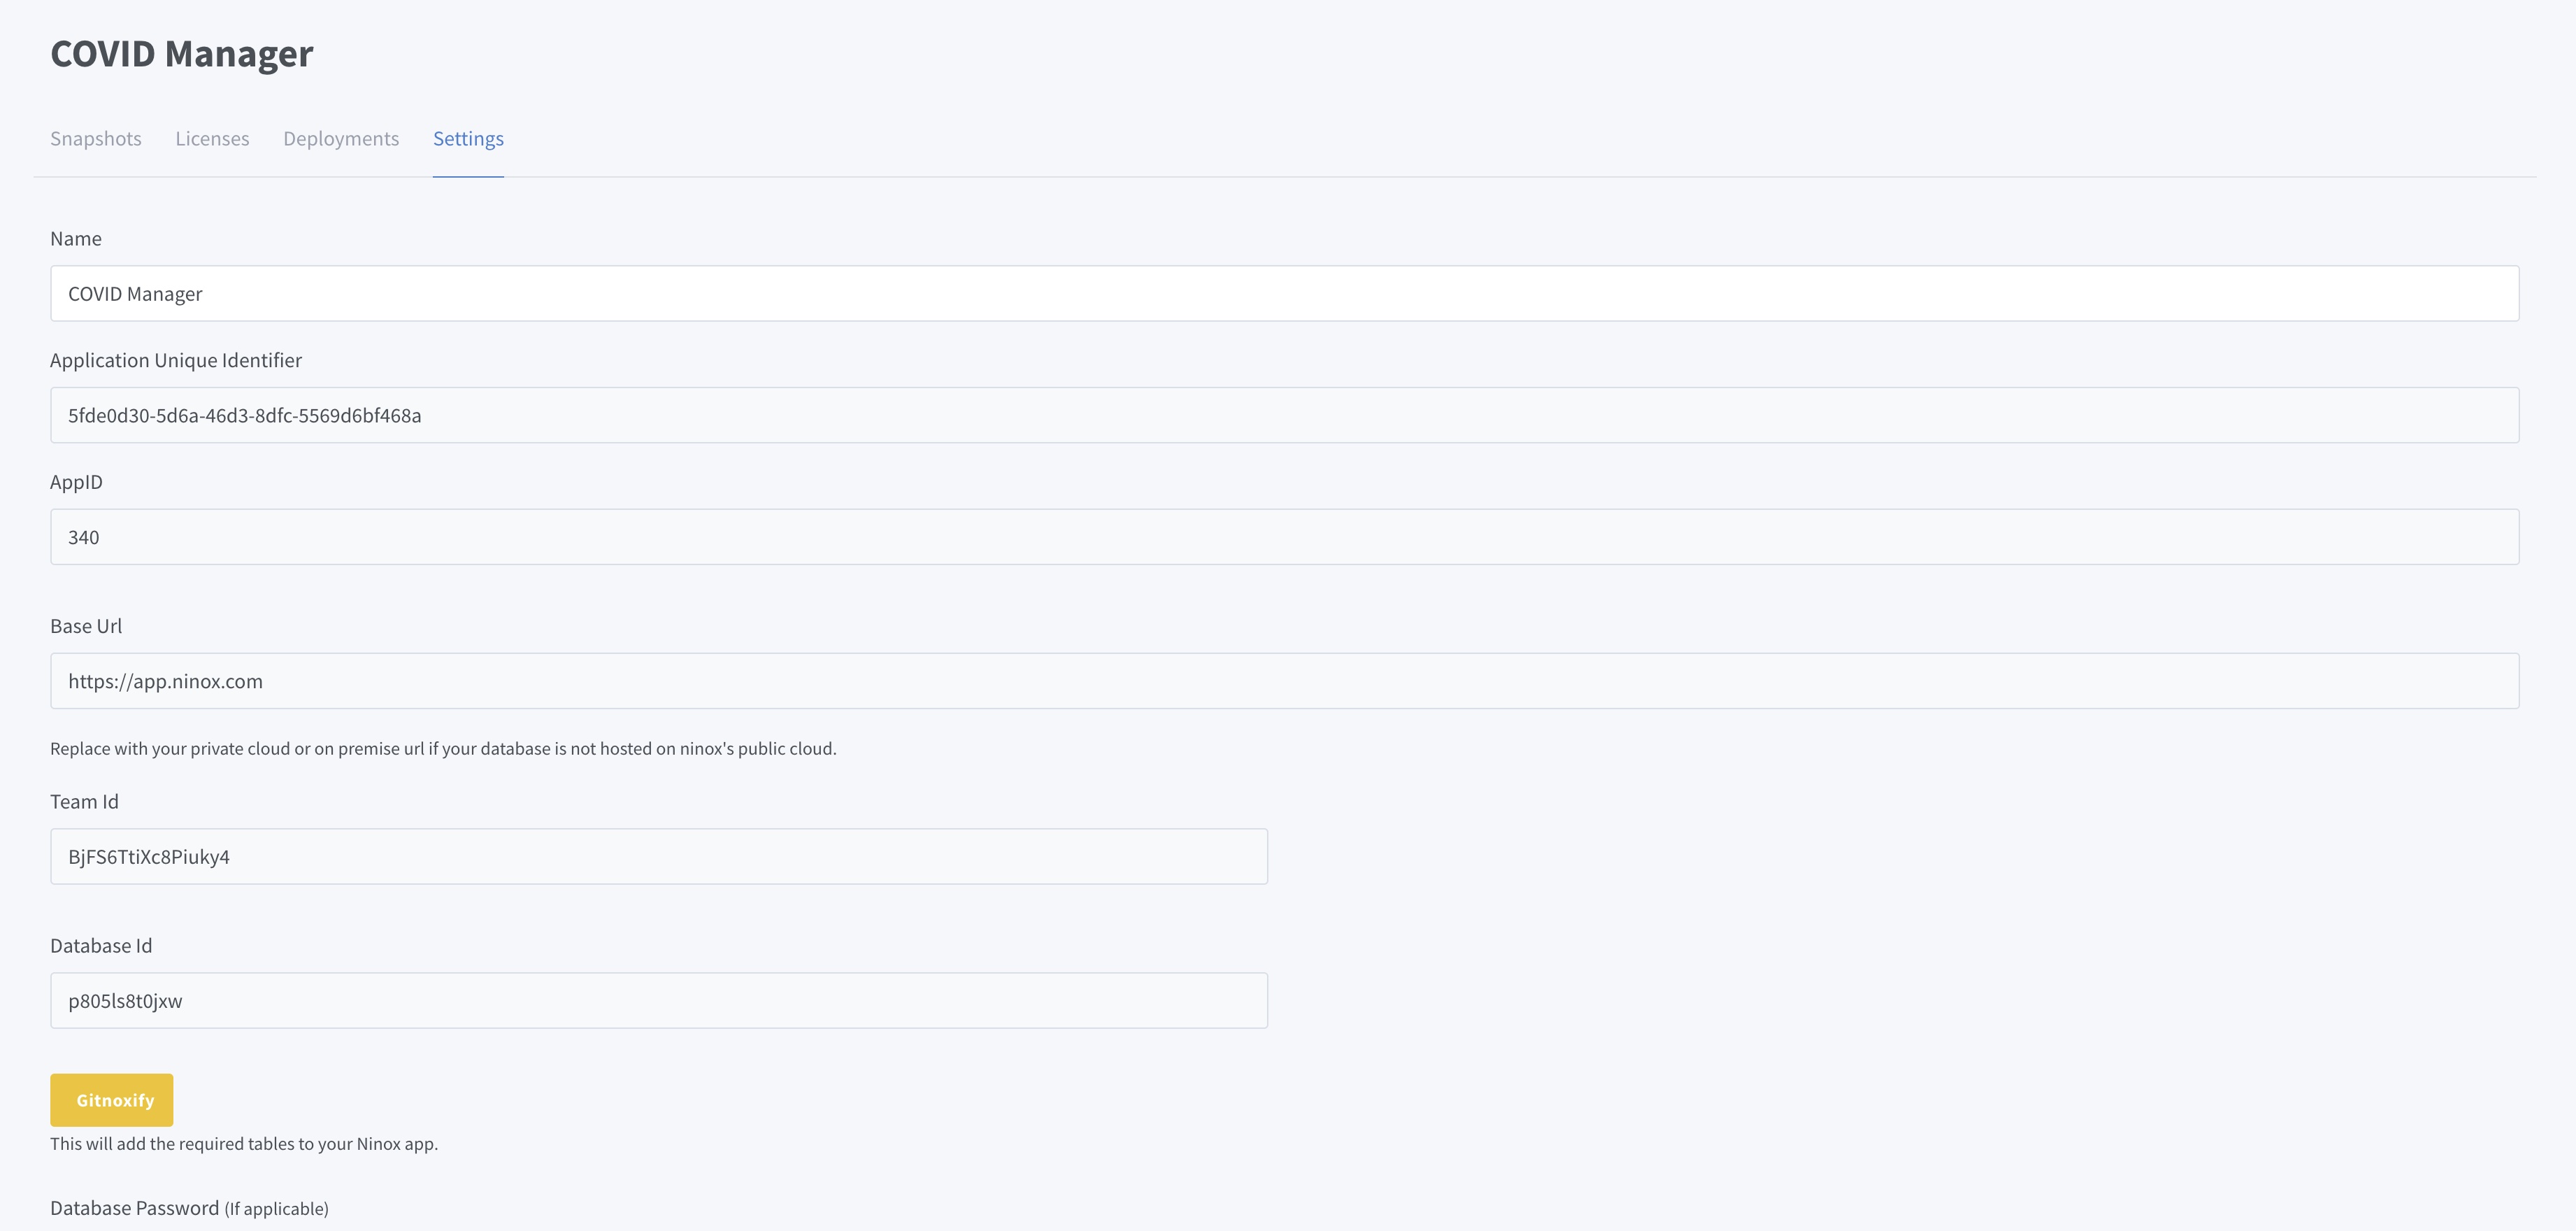
A new table will be added yo your ninox database. Your clients will need to fill in the fields of this table..
Licensing
A license is essentially what allows you to distribute the Ninox application you've created to your intended parties. Wether it's a company of a thousand or a freelancer team of one, giving these users access will be very easy, fast and reliable.
You will be giving each of these parties a dedicated and personalised copy of the application you've made, as well as be able to manage how the access and even for how long.
Creating a License
Creating a license is a very simple process, in fact it starts with just the click of a button.
Wether you're granting access to a company of a thousand members or a freelancer team of one, creating a license is very simple and fast.
In the License section of your dashboard, locate and click the "Create a New License" button located on the top right of the section.

The create a new license button in the licences section.
Once you clicked the button you will be re-directed to the License creation page.
The License Creation Page
Here you will input all the information needed in order to create your license. You can also access this page in order to update or edit already existing licences.

The License Creation form
- *Duration**: The duration represents the validity of the License you're providing your client with. In other words, its how many days they can access the app you've provided them with for.
One thing to note is that the countdown only starts once a client has activated their license and not when the license has been created.- *Max Team Users**: This field denotes the maximum number of users allowed on this application. It can be any number you want, and helps you customise access according to your client's needs.
- Remark (optional): This is your personal remark on this license. It can be any note or label you want to keep about it, for example the name of the person you're providing the license with.
- Basic Data (optional): In this field you can store data to be used in your Ninox app. This data has to be in the JSON format in order for it to be applied. This basic data can be restrictions such as enabling the demo version: {"demo": true} or any other data you want to push to your client.
- Extra Data (optional): This field is smiler to the basic data field except it is used to store bigger or bulkier data such as encoded pictures, advertisements etc... This data has to be in the JSON format, and cannot exceed 16MBs.
The data fields can be left blank
Once you've filled in all this information, go ahead and click the save button in order to finalise the creation of your license.
The Licences Table
Once you've created your licences you can see an overview of each of them in the Licences table on your dashboard.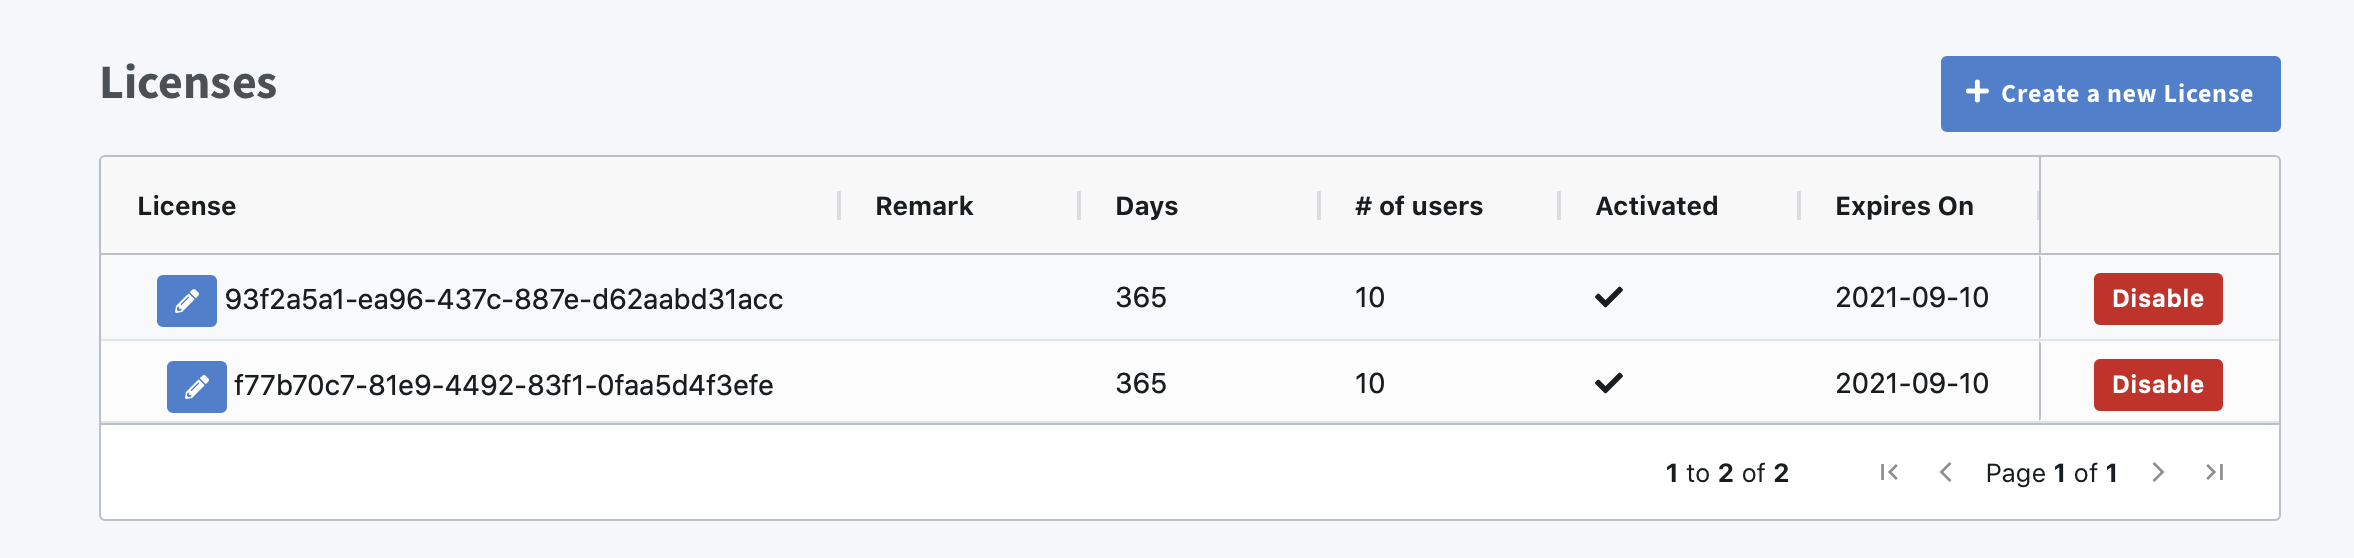
This table provides you with all the information regarding each License as well as provides you with management capabilities:
Editing a License
If you want to update or edit an existing client's license, you can do so through the edit button present in the first column of the table on the left side.
Disabling a license
If you ever need to disable a client's a license, this can be done easily using the red disable button present in the last column on the right the licences table. option of disabling a license if needed. This can be done by clicking the "Disable" button in the last column on the right.
Version Control (Snapshots)
Snapshots are Gitnox's way of keeping versions of the app you've created.
Once you've linked your database for this first time you will have a version of this application saved on your Gitnox account.
But since it's just a "snapshot" of your app, if you change or update anything regarding this app on Ninox, no changes will be applied onto your already existing application on Gitnox.
In order to sync your changes, and create a update version of this application you will need to create a Snapshot. This same snapshot can be used to deploy all these changes and updates to your users.
Creating a snapshot is very simple, let's get started.
Creating A Snapshot
On your dashboard, you'll se a Snapshots section, this is where can create and manage all your snapshots.
Taking a snapshot is very easy! Simply click the "Take A New Snapshots" button on the top right corner of your Snapshots section.

Once you've clicked this button Gitnox will take a snapshot of the current state of the linked app, and present you with a form to fill.
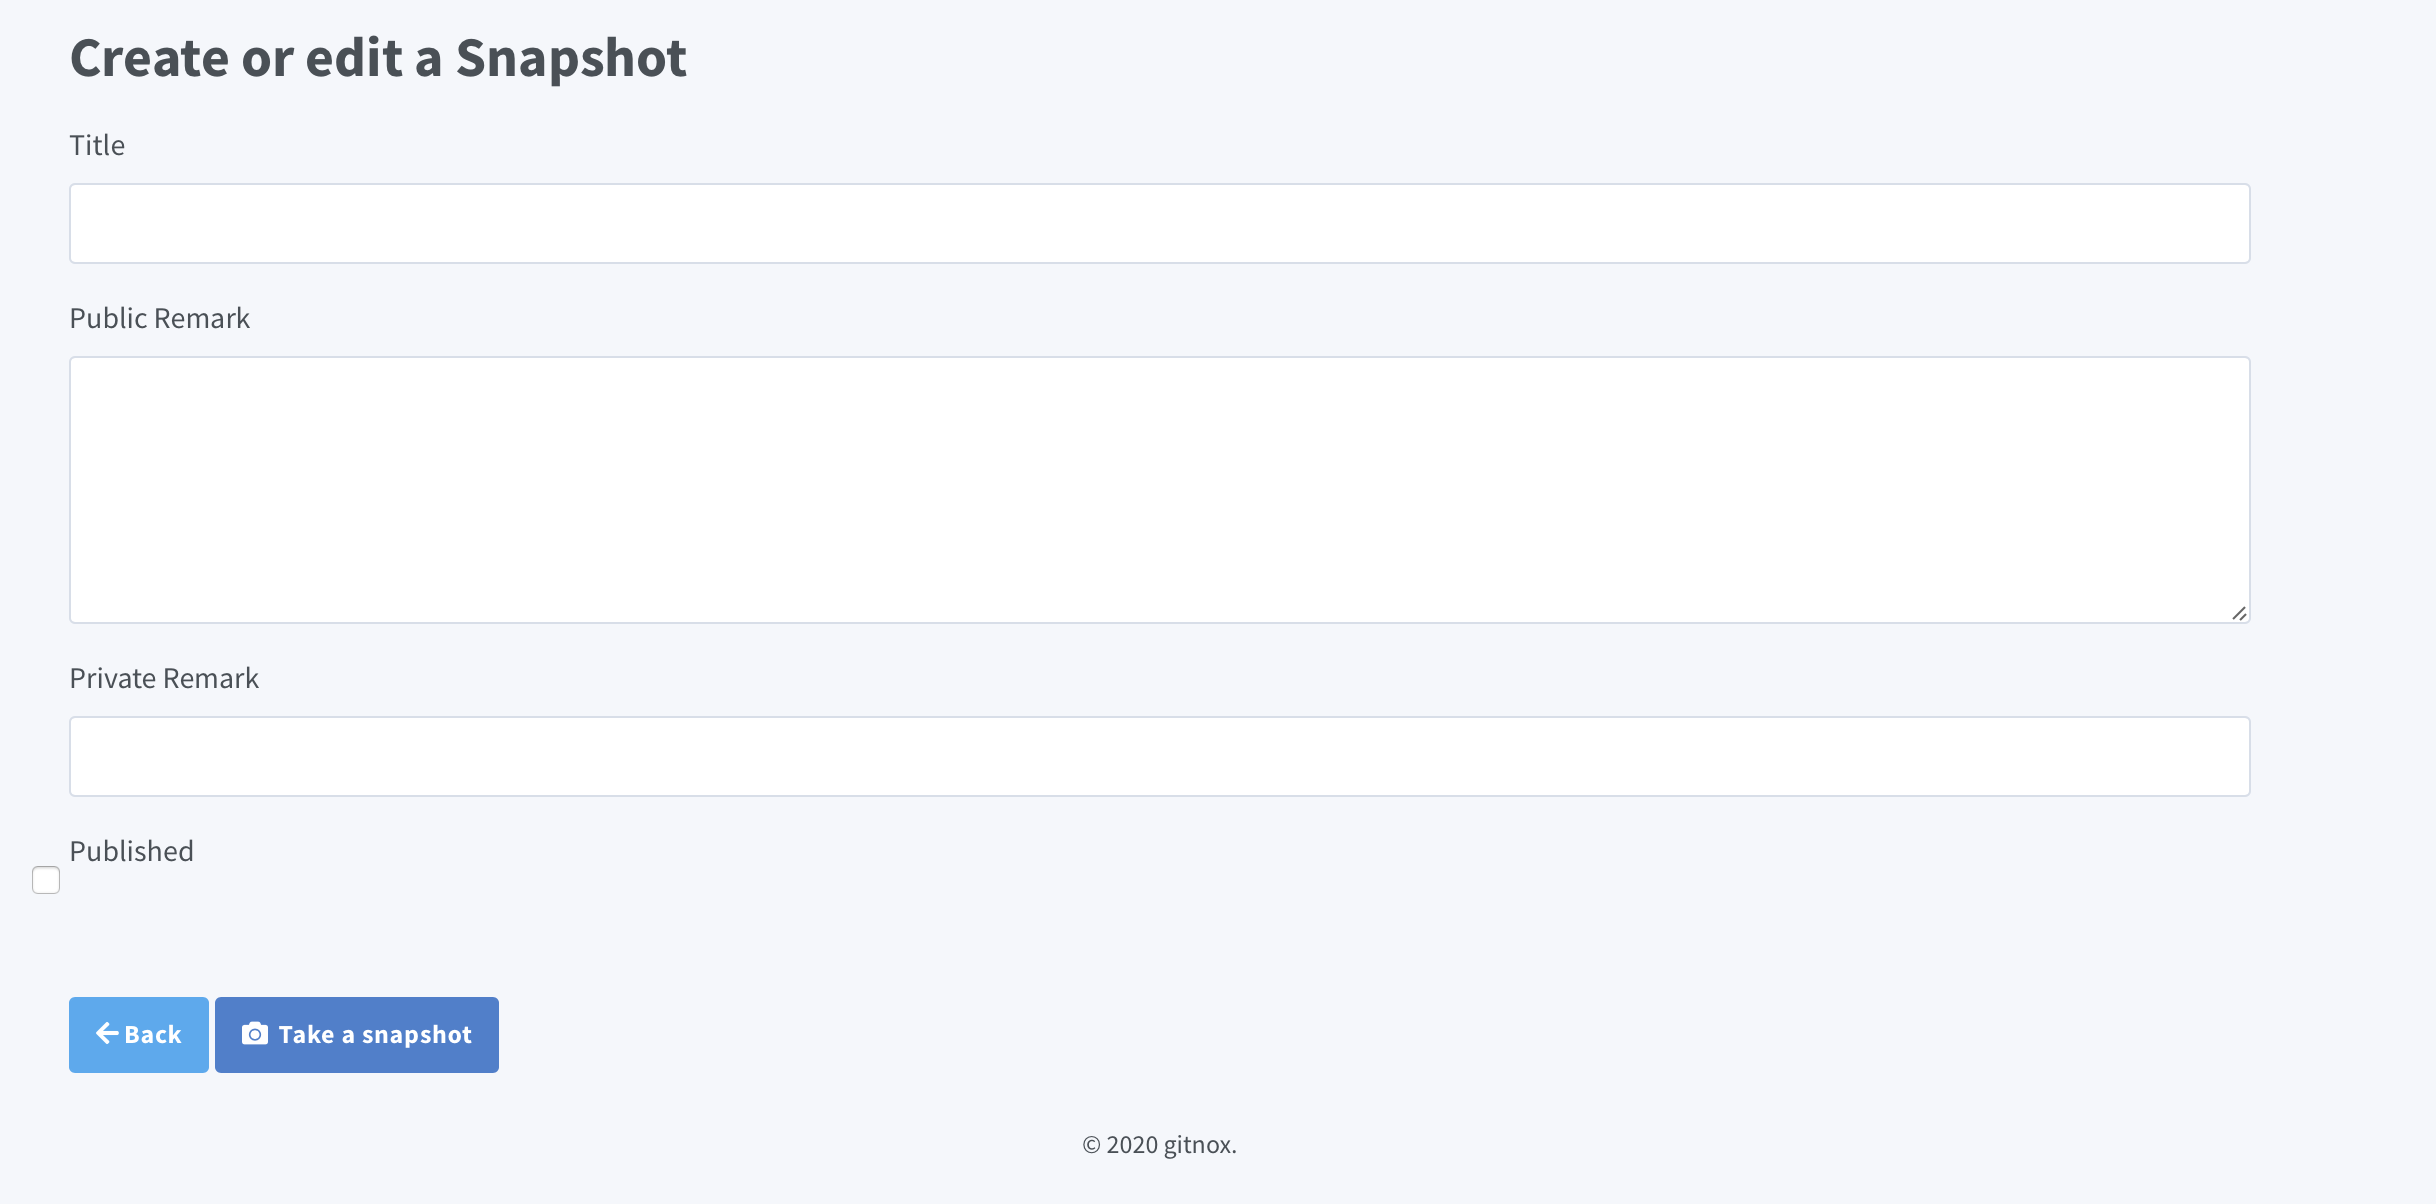
The snapshot creation form.
Let's go through the fields of this form:
Title: This is the title you want to give your Snapshot
Public Remark: This is the information you want your end clients to see whenever a new Snapshot is available for update. Usually, this contains a description of what was added, updated, fixed or enhanced in this new version.
Private Remark: This is used for your own reference, you can include any information you want to keep about this Snapshot that you don't want the clients to see.
Published Checkbox: If you set this to true, then this Snapshot will appear in the update list on the clients' Ninox app.
If this is set to false, then they will not be able to see it or update it. The only license that will be able to still see it is the "Testing license" that was generated when you created the Gitnox application.
Once you've filled in these fields go ahead an click the "Publish Snapshot" button in order to finalise your Snapshot creation. Your newly created Snapshot will appear in the Snapshots table.
Managing Snapshots
Once you've created your Snapshot, it will be available along with a list of all the other Snapshot's you've made in the Snapshot management table.

A Sample Snapshot's table
This table provides you with some fields to help you keep track of your versions at a glance:
ID: This is your Snapshot's unique ID.
Version: This is your Snapshot's version number
Title: This is the title you've given your Snapshot
Published: This indicates wether your Snapshot is published, or only available for testing purposes.
Archived Snapshots
Once a Snapshot has been archived you it will no longer show in the default Snapshot table, in order to be able to see any archived Snapshots simply toggle the "Show Archived" checkbox on the top left of the table.
Editing a Snapshot:
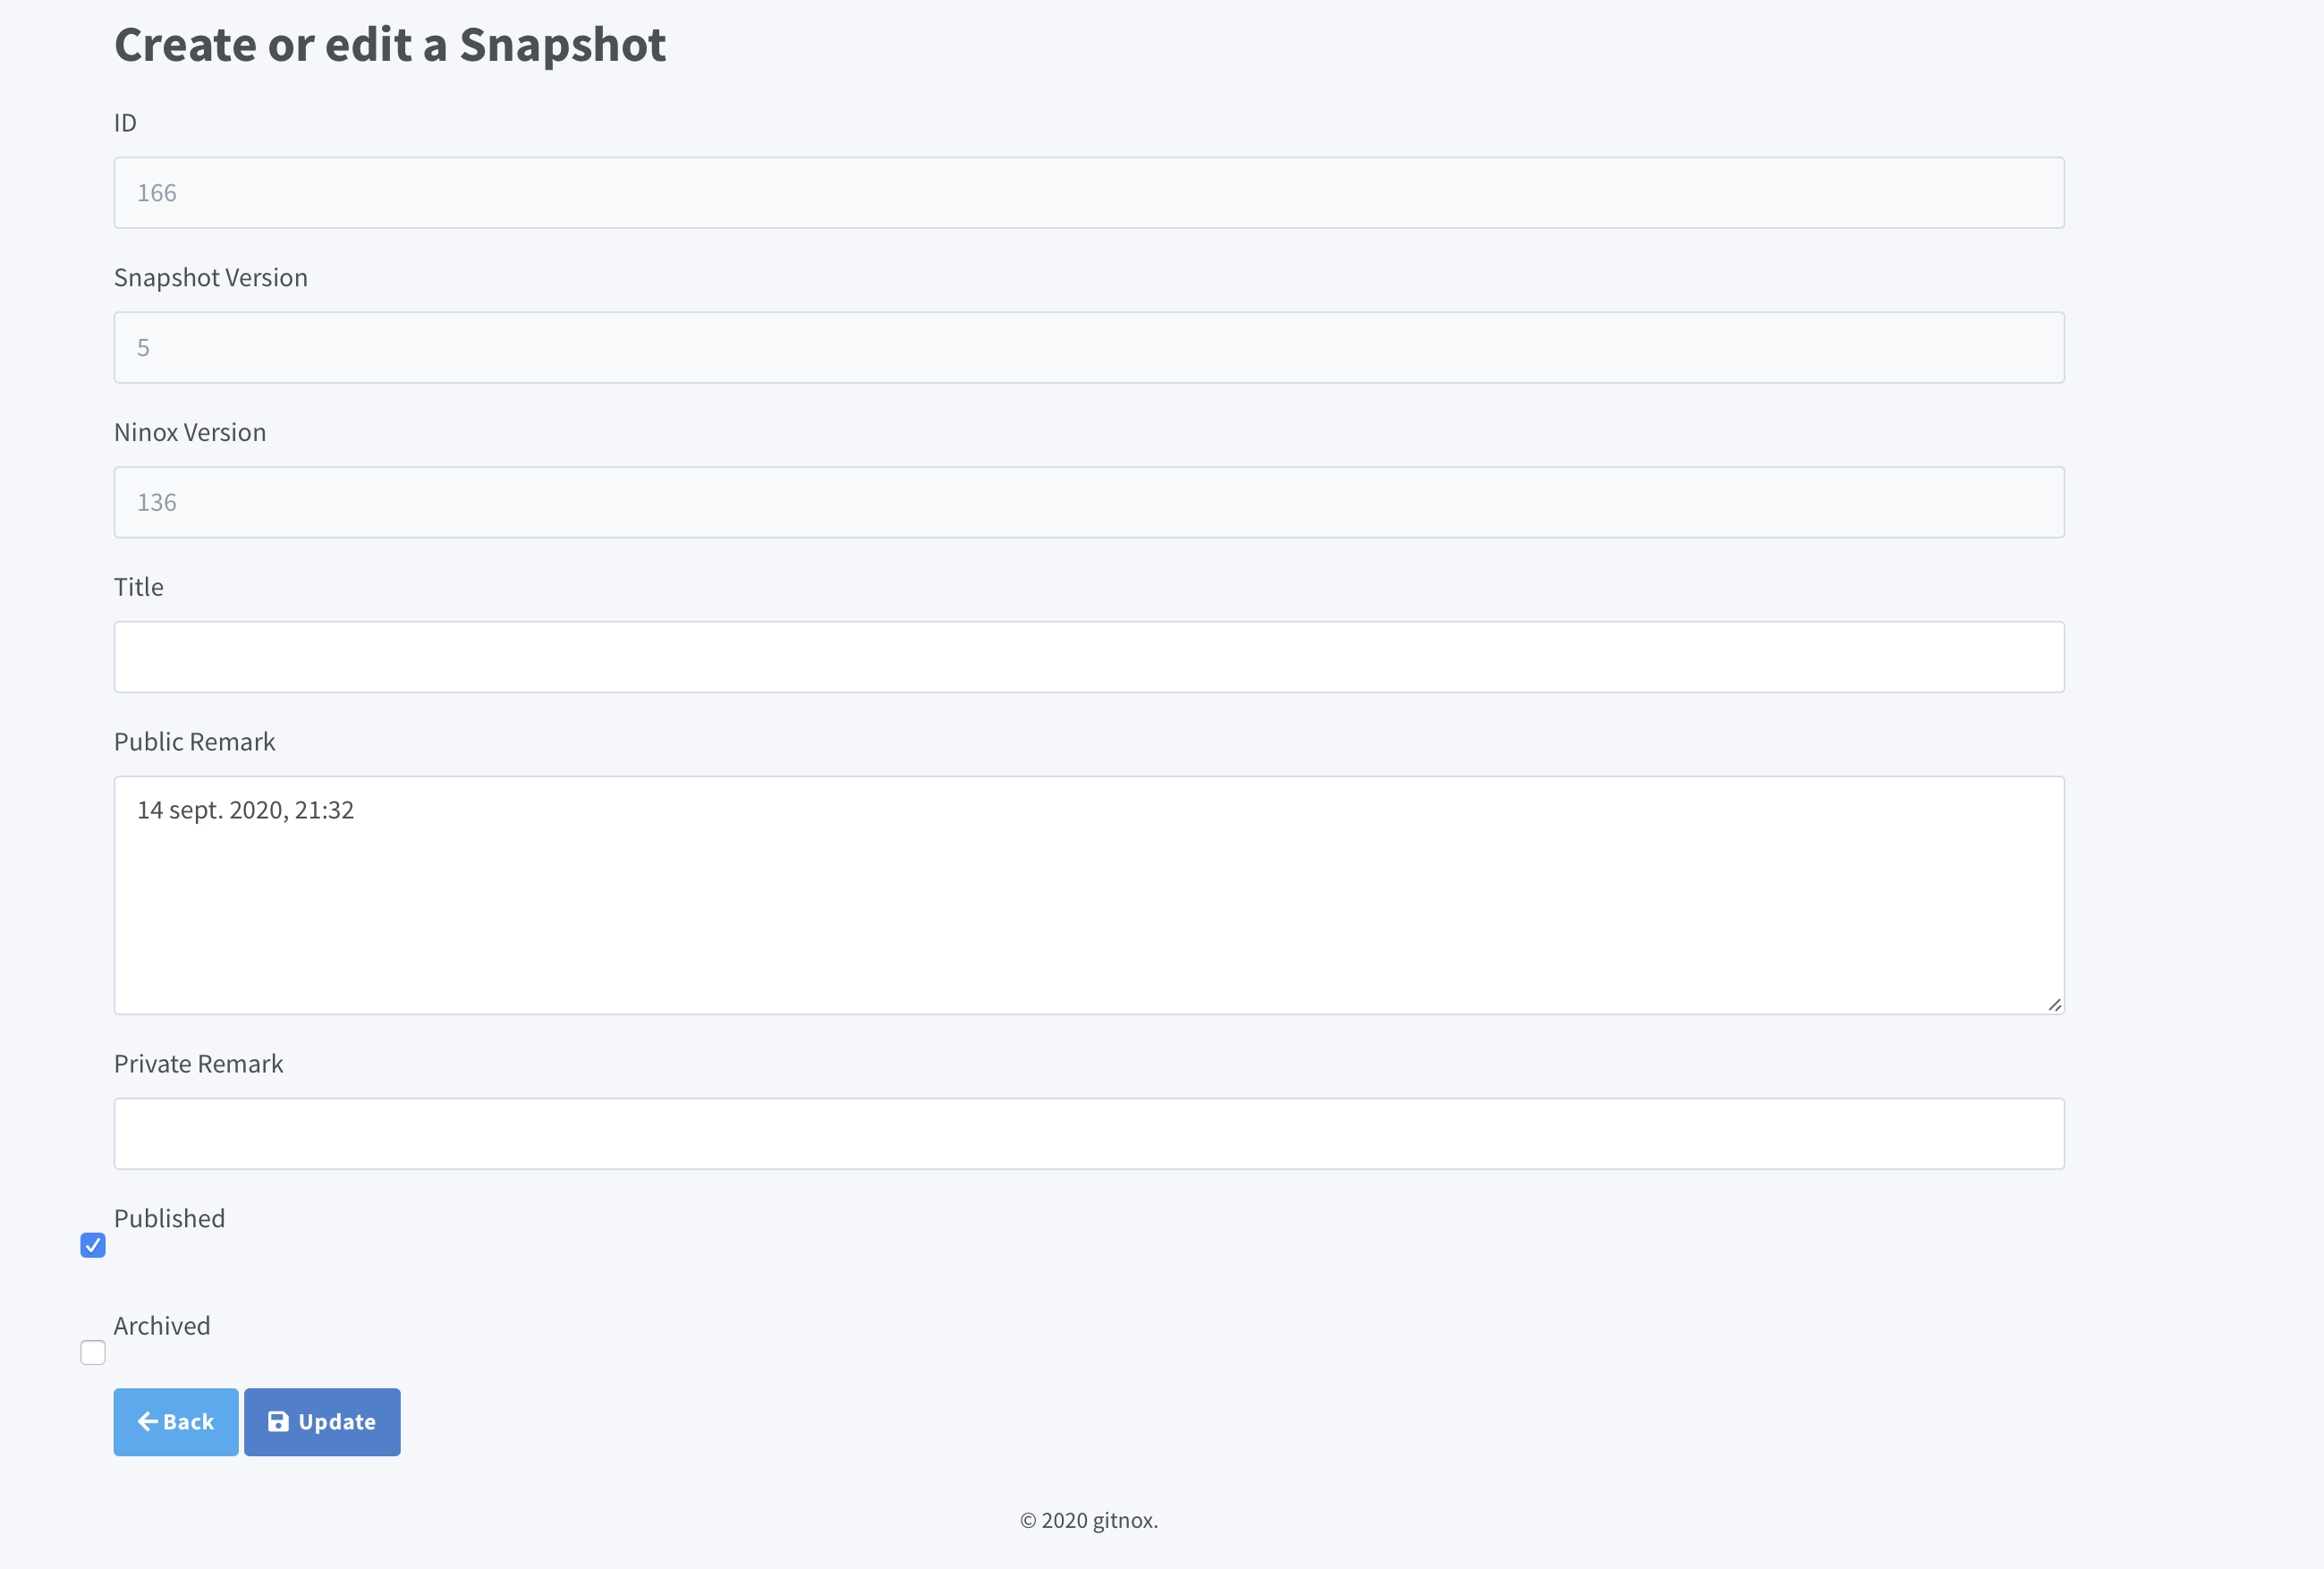
A Snapshot being edited.
In the last column on the right hand side of the table, you will find an "Edit" button, this button allows you to update the name and remarks of the Snapshot.
It also allows you to update the status of it, changing wether its published or not.
And finally it allows you to archive the Snapshot if needed.
Applying a Snapshot.
Also present in the last column on the right hand side is the "Apply" button, this button allows you to apply the selected snapshot onto your Ninox application.
A couple things to keep in mind are:
- If you apply an earlier version of your snapshot, any changes and updates made on the Ninox app after the creation of this Snapshot will not be preserved.
- This only applies the Snapshot to your app, in order to apply it to a client's app you need to do so through the Cluster's section.
Now that you have your App set up on the Gitnox side you will need to set up a few fields on your Ninox app in order to be able to give out licences.
Advanced usage
Gitnox allows you to group several deployed apps into
The cluster section of your dashboard shows you information about your clients and specifically the snapshots they've applied.
A client is present in a cluster only if you've chosen to save their information.
A cluster is used to oversee and manage the snapshots available to your clients, this can all be done through the Clusters table.
The Clusters Table
The Cluster's table is present in the lower part of your dashboard. This table has three main purposes.
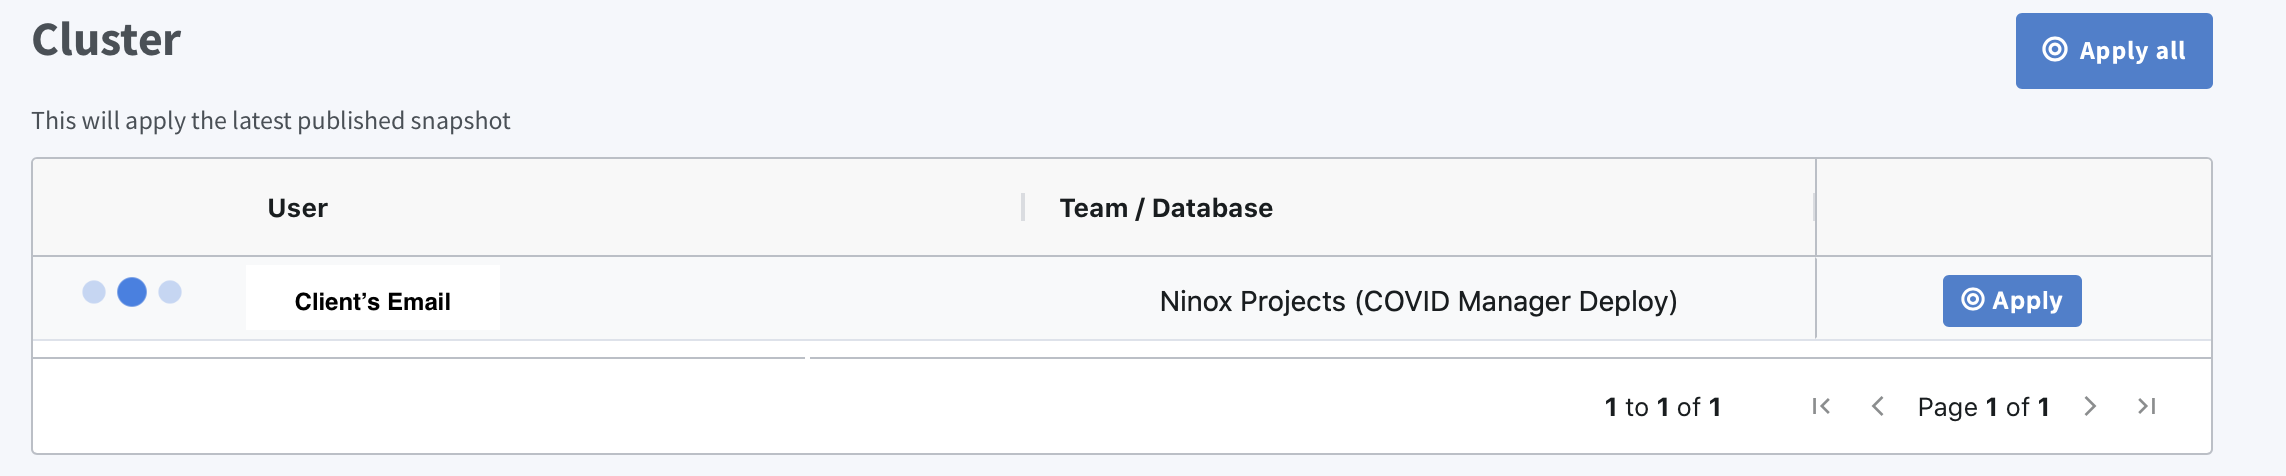
A sample cluster table
Overview: In this table, you can see that a user has applied on of your snapshots. You'll be able to see that user's email in order to identify them as well as which Team/Database they're working on.
Apply Button: The apply button, present in the last column on the right of each entry allows you to apply the most recent snapshot to a user's application. It essentially pushes the latest update to that user.
Apply All Button: The Apply All button, present in the top right corner, allows you to push the most recent update to all the users present in your cluster table.
Now that you\ve gone through clusters, let's create some snapshots to apply.
Troubleshooting tips:
If you are facing errors with the methods make sure the names of the fields you’ve set up match the one’s you're calling in your methods.
Demo
You can find a working demo ninox application here
Support
If you have any question regarding the integration, please feel free to contact us on support@gitnox.com, we'll be happy to help you go through a full integration.